一步一步熟悉Mac-app开发(二)之NSCollectionView.md
概要
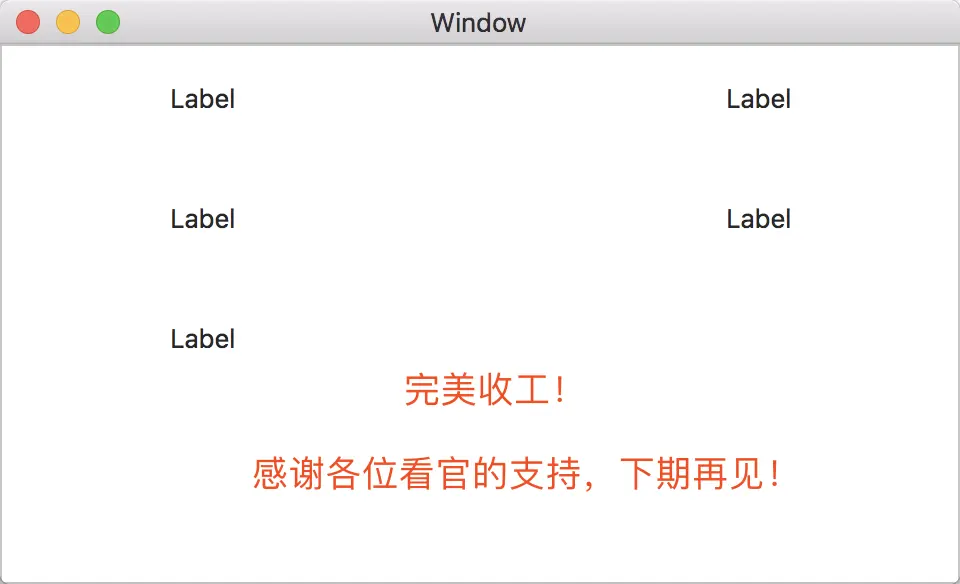
本文通过使用NScollectionView来实现以下效果:
步骤
1.新建项目。(这个不用我再演示了吧,不会创建项目的大佬请看上篇文章。)
2.执行以下猛如虎的操作。(复习上篇文章内容)
3.设置Auto-Label。(复习上篇文章内容)
3.新建一个CollectionViewItem类,继承于NSCollectionViewItem,并选择创建xib文件。
3-1.右击导航器中工程名称,选择【New File】。
3-2.选择【macOS】下的【Cocoa Class】,然后点击【next】按钮。(默认就是这样,纯属刷存在感)
3-3.输入类名“CollectionViewItem”,选择(输入)继承于“NSCollectionViewItem”,再点击【Next】按钮。
3-4.点击【Create】按钮。
4.点击左侧导航器中【CollectionViewItem.xib】。
5.设置“Custom View”的大小位200*50。
6.拖拽Lable,放入最中央,并设置Auto-Label(复习上篇文章内容)。
7.添加object至“CollectionViewItem”中。
8.设置object的【Custom Class】为“CollectionViewItem”。
9.在左侧导航器中,点击Main.storyboard,选中Collection View,将dataSource与View Controller连接起来。
10.在“ViewController.h”中添加“NSCollectionViewDataSource”协议。
11.在“ViewController.m”文件中,添加如下代码:
- (NSInteger)collectionView:(nonnull NSCollectionView *)collectionView numberOfItemsInSection:(NSInteger)section {
    return 5;
}

- (nonnull NSCollectionViewItem *)collectionView:(nonnull NSCollectionView *)collectionView itemForRepresentedObjectAtIndexPath:(nonnull NSIndexPath *)indexPath {
    NSCollectionViewItem *item = [collectionView makeItemWithIdentifier:@"CollectionViewItem" forIndexPath:indexPath];
    return item;
}
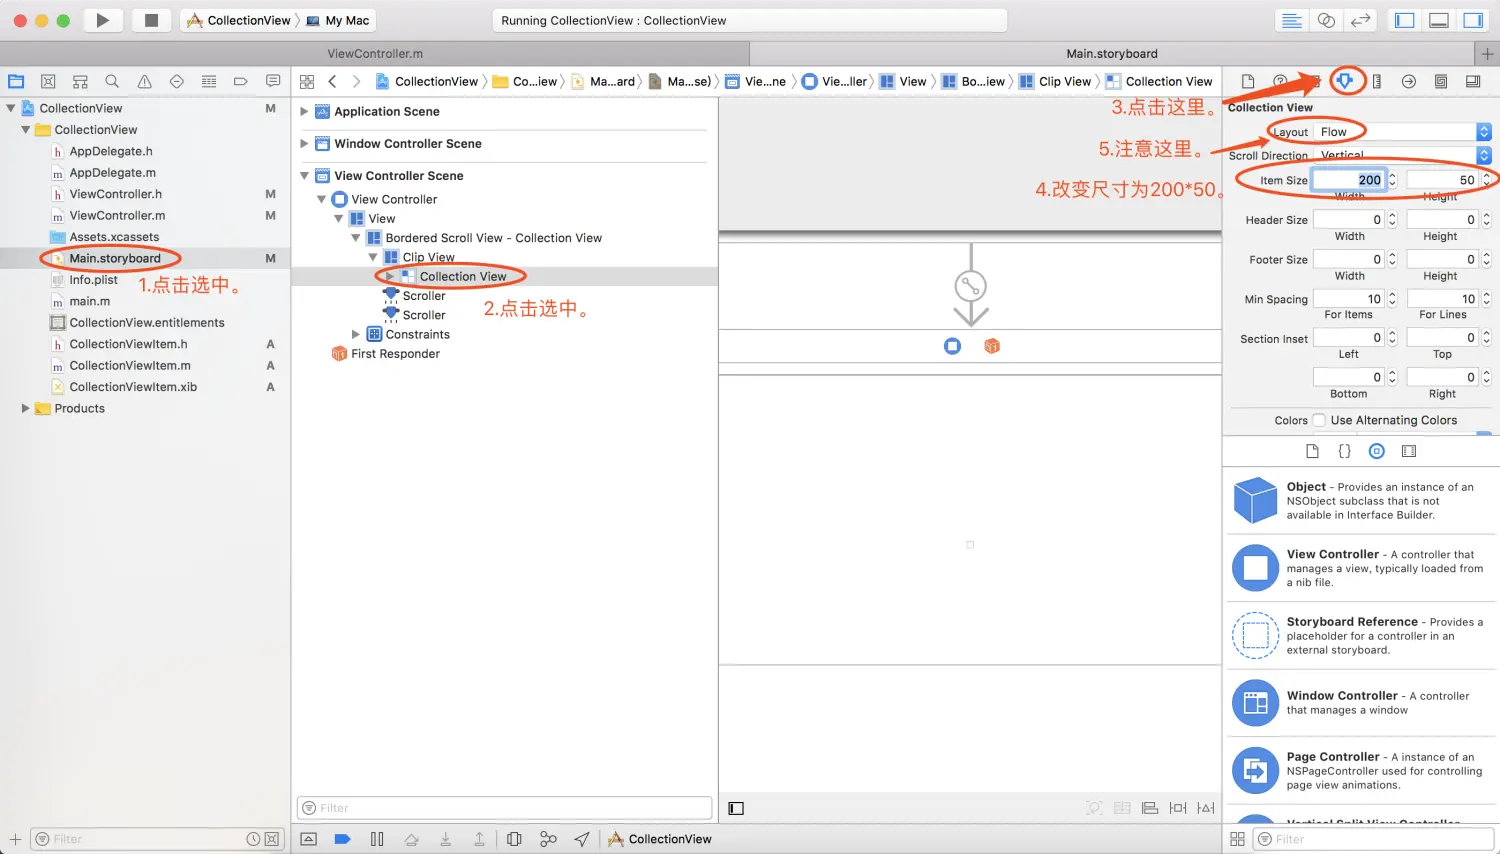
12.设置Collection View的Item大小为200*50。

13.完成,Command+R,查看效果。

#结语
一篇文章下来居然花了我一早上的时间,截图编辑有点小费时间,em…如果没人喜欢的话,我以后尽量插图不要这么细致。
原视频链接:
https://youtu.be/tMZuKqDGtxA