mac开发之实现矩形部分圆角
问题
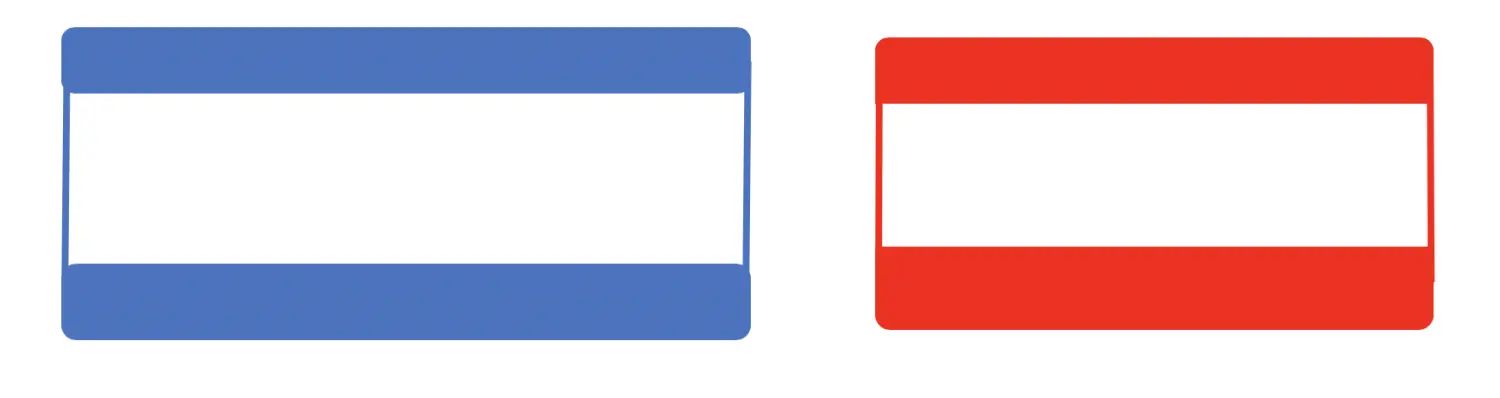
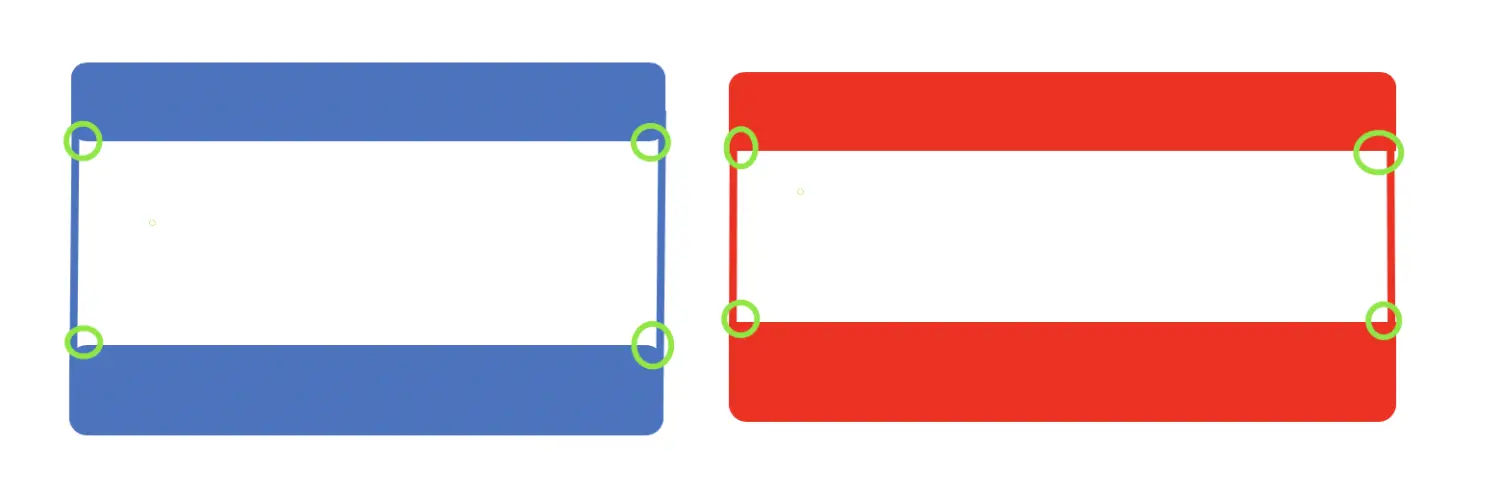
在进行今天的内容之前,首先我想问一个问题:下图中,蓝色选择框与红色选择框除颜色、大小外有何不同?(我会在后文揭晓答案)
目标
本文今天要讨论的是:在Mac OS X下,如何实现矩形的部分圆角。
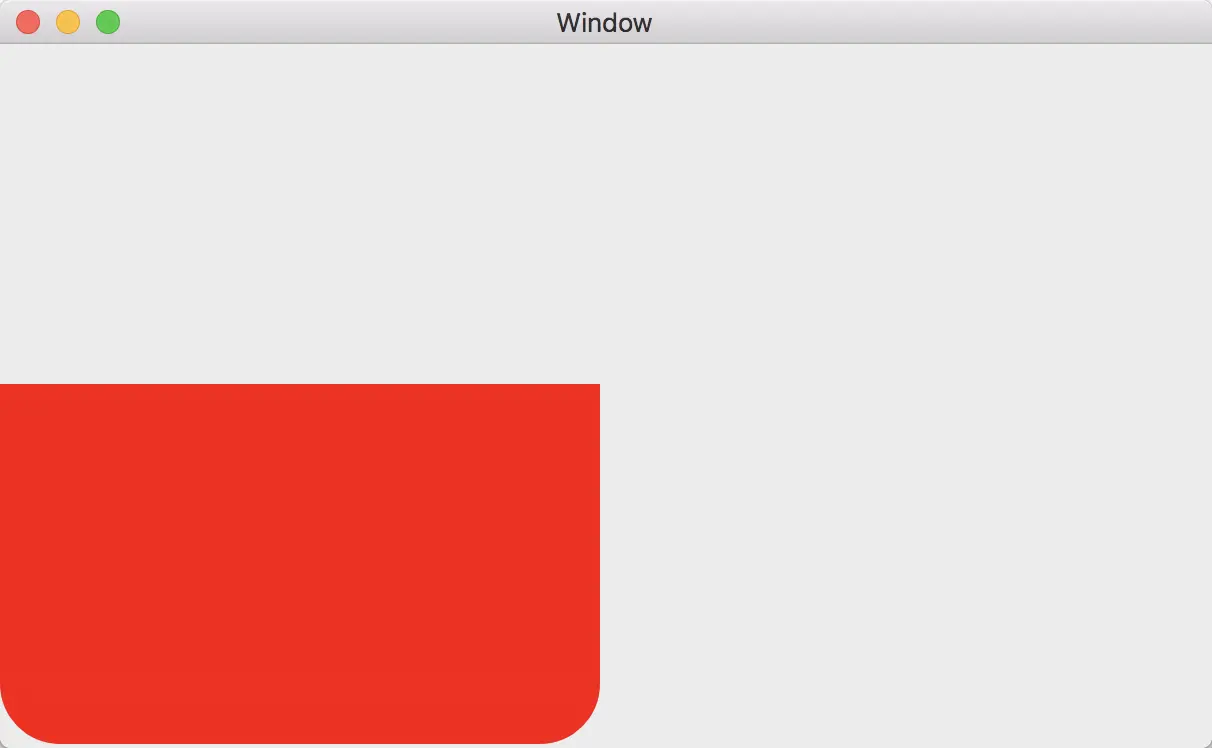
比如这样:

或者这样:

解决方案
要想实现上图样式,有两种解决方案。
方案1:蠢萌描点法
蠢萌描点法实现图2的原理图如下:
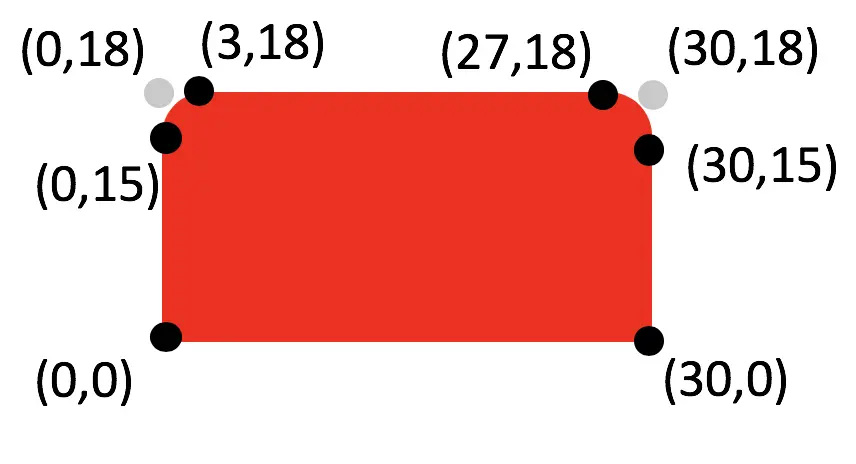
如上图所示,首先确定整个矩形的的几个特殊点,然后通过CGContextAddLineToPoint来实现绘制。
核心代码
1 | - (void)drawRect:(NSRect)dirtyRect { |
效果
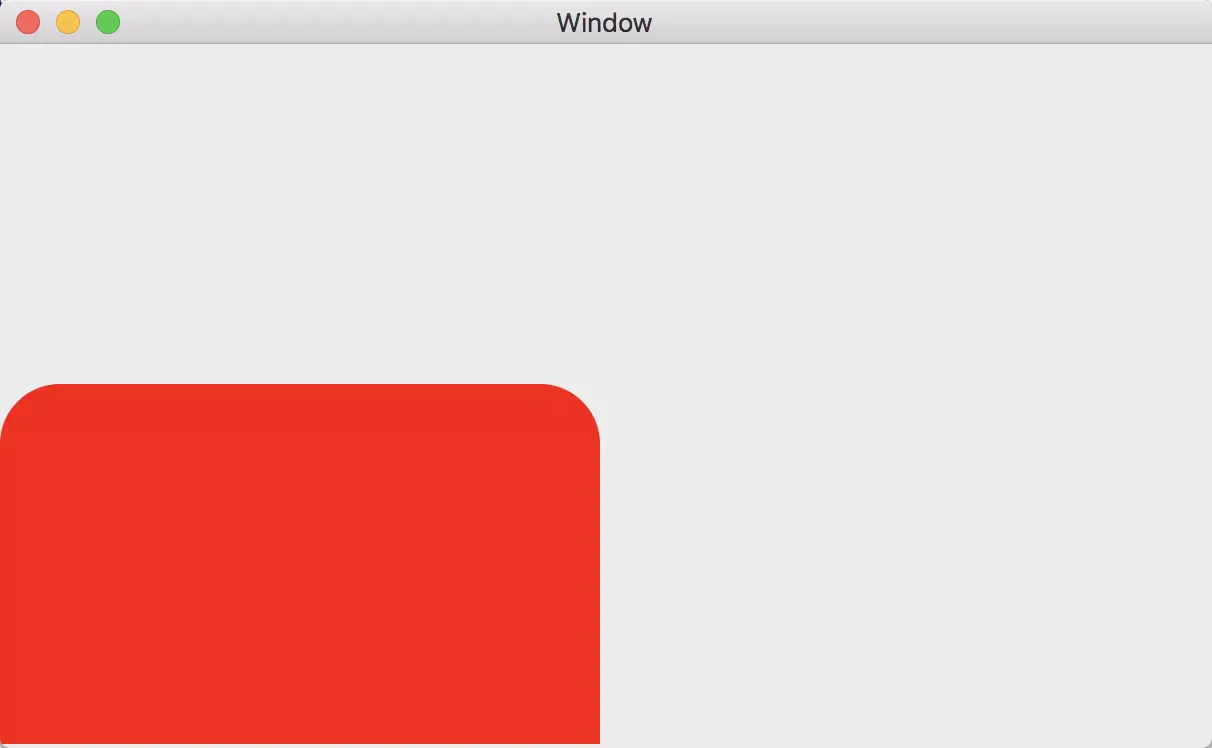
根据写代码来看,蠢萌描点法手法过于粗糙,我不会告诉你在实际项目中坐标花了我大半天时间去计算。(真的是半天!)
So…方案二腾空出世!
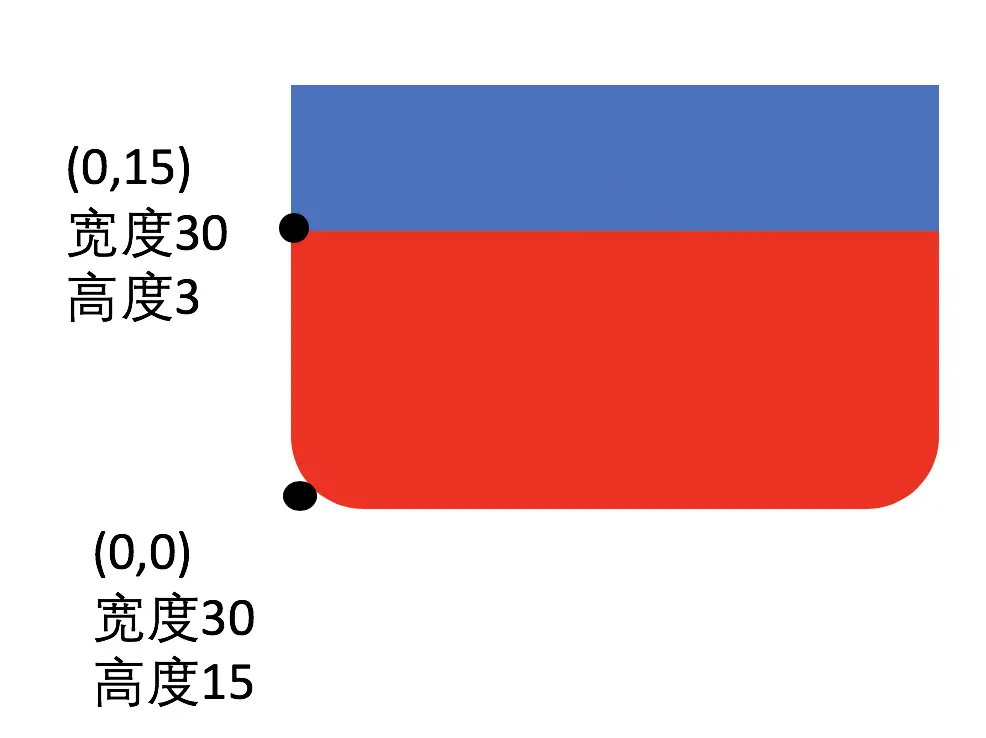
##方案二:猥琐遮掩法
猥琐遮盖法实现图3的原理如下:

看上去极易操作,代码极易简洁,符合我一贯的代码美学风格,完美,所以接下来…我们继续算坐标!(狗头)
核心代码
1 | - (void)drawRect:(NSRect)dirtyRect { |
效果图
结语
那么图1中,两个选择框究竟有什么区别呢,如图所示:
搞了这么多花里胡哨,终于满足了美工姐姐的奇葩需求,完美!